Katy Rose Collection: Art, Words

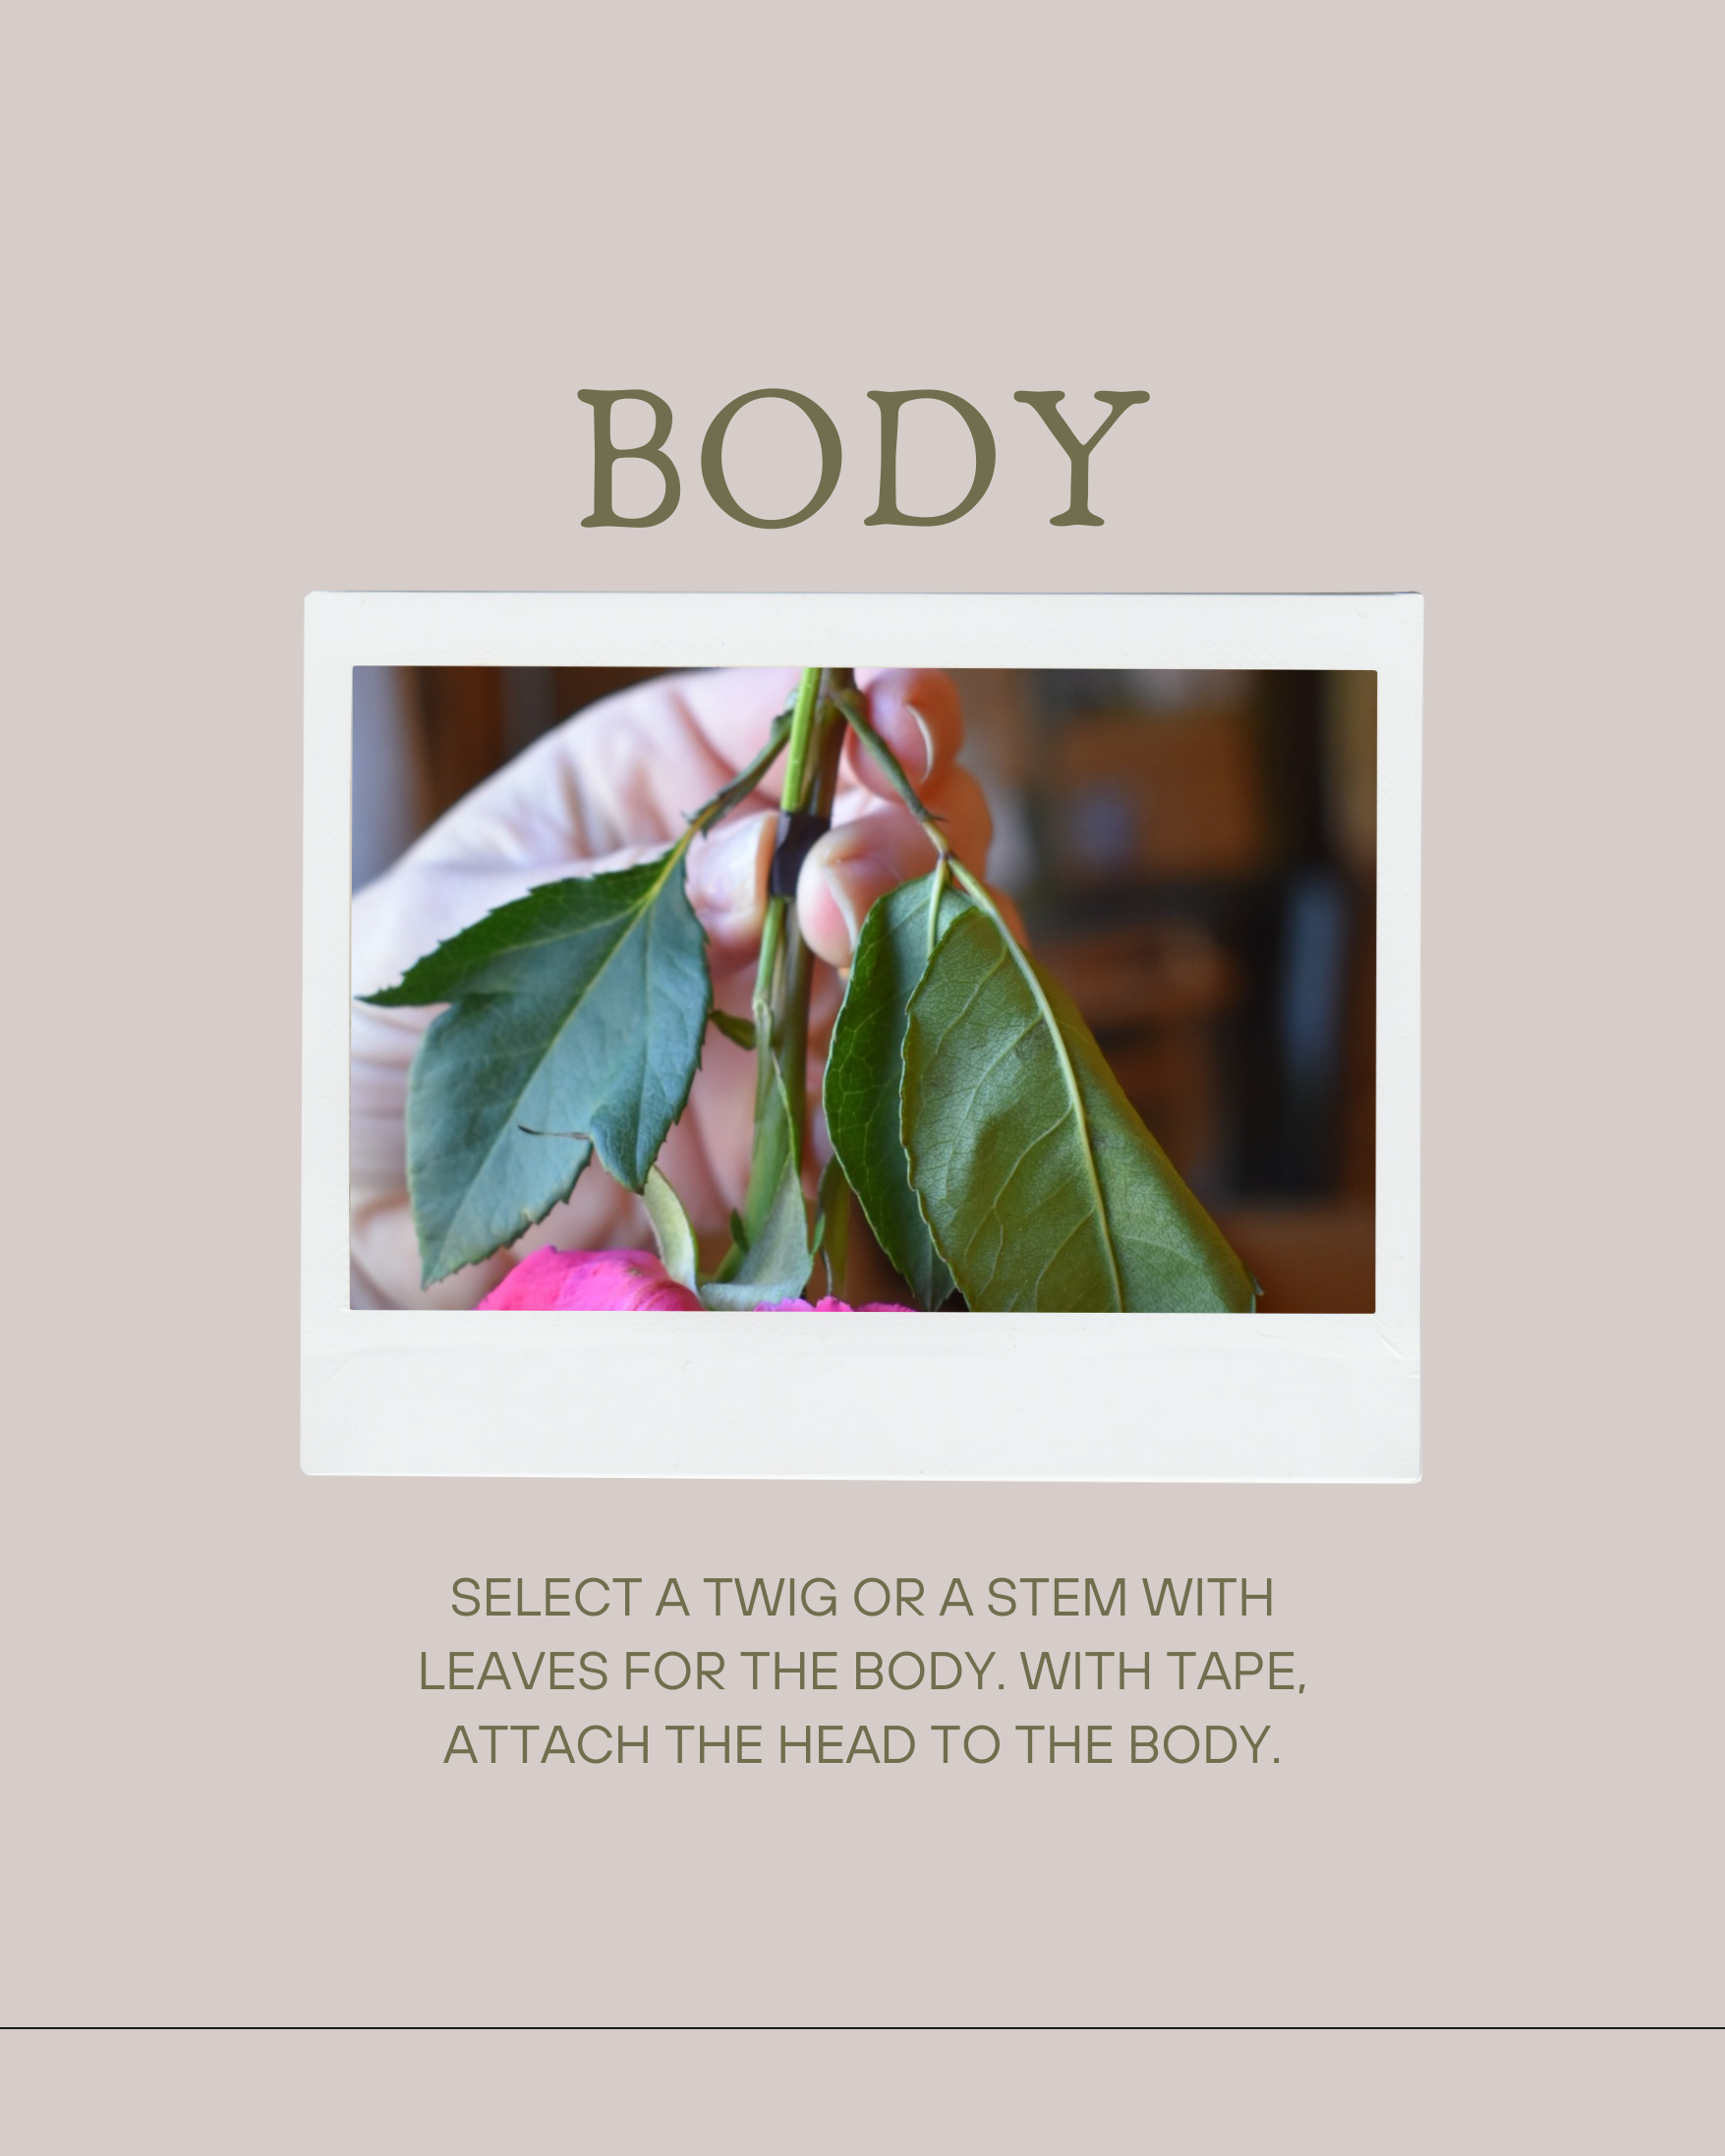
DIY Flower Dolls
As Miss Prim opens up her heart to others in my new picture book, Miss Prim Goes Wild, we see her invite the neighborhood children over to make flower dolls. Let’s join in!

Click through the photo slideshow below for each step of the process.
Or watch the How-To video HERE.


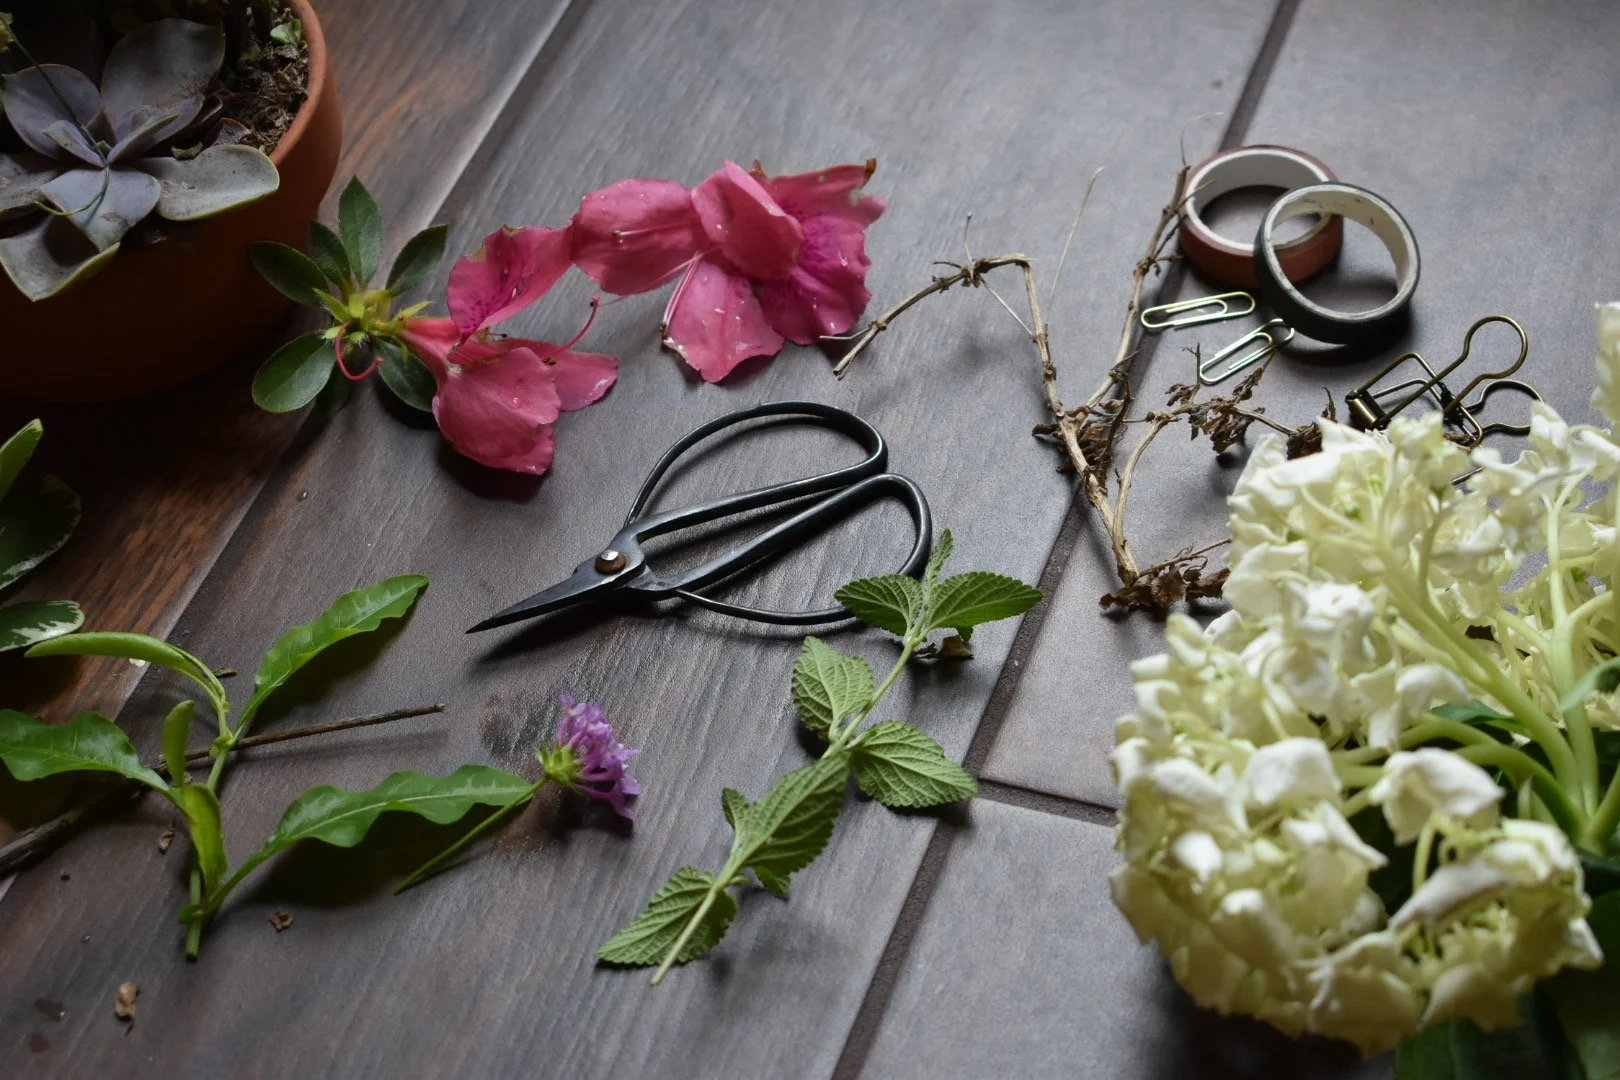
Children might not want a tutorial for this because they will already be five steps ahead of us, but here are a few tips for us parents. We’ve made lots of flower dolls and they all look very different. Some have cherry tomatoes for a head. Some use supplies from inside, some are completely made from nature. The rules are loose, friend.
Grab the wilted flowers in your vase, or new blooms outside, and go wild!
VIDEO

VIDEO
Click Here for the quick How-To video on Instagram


Miss Prim Goes Wild
Learn more about the book and order here from your favorite bookseller!

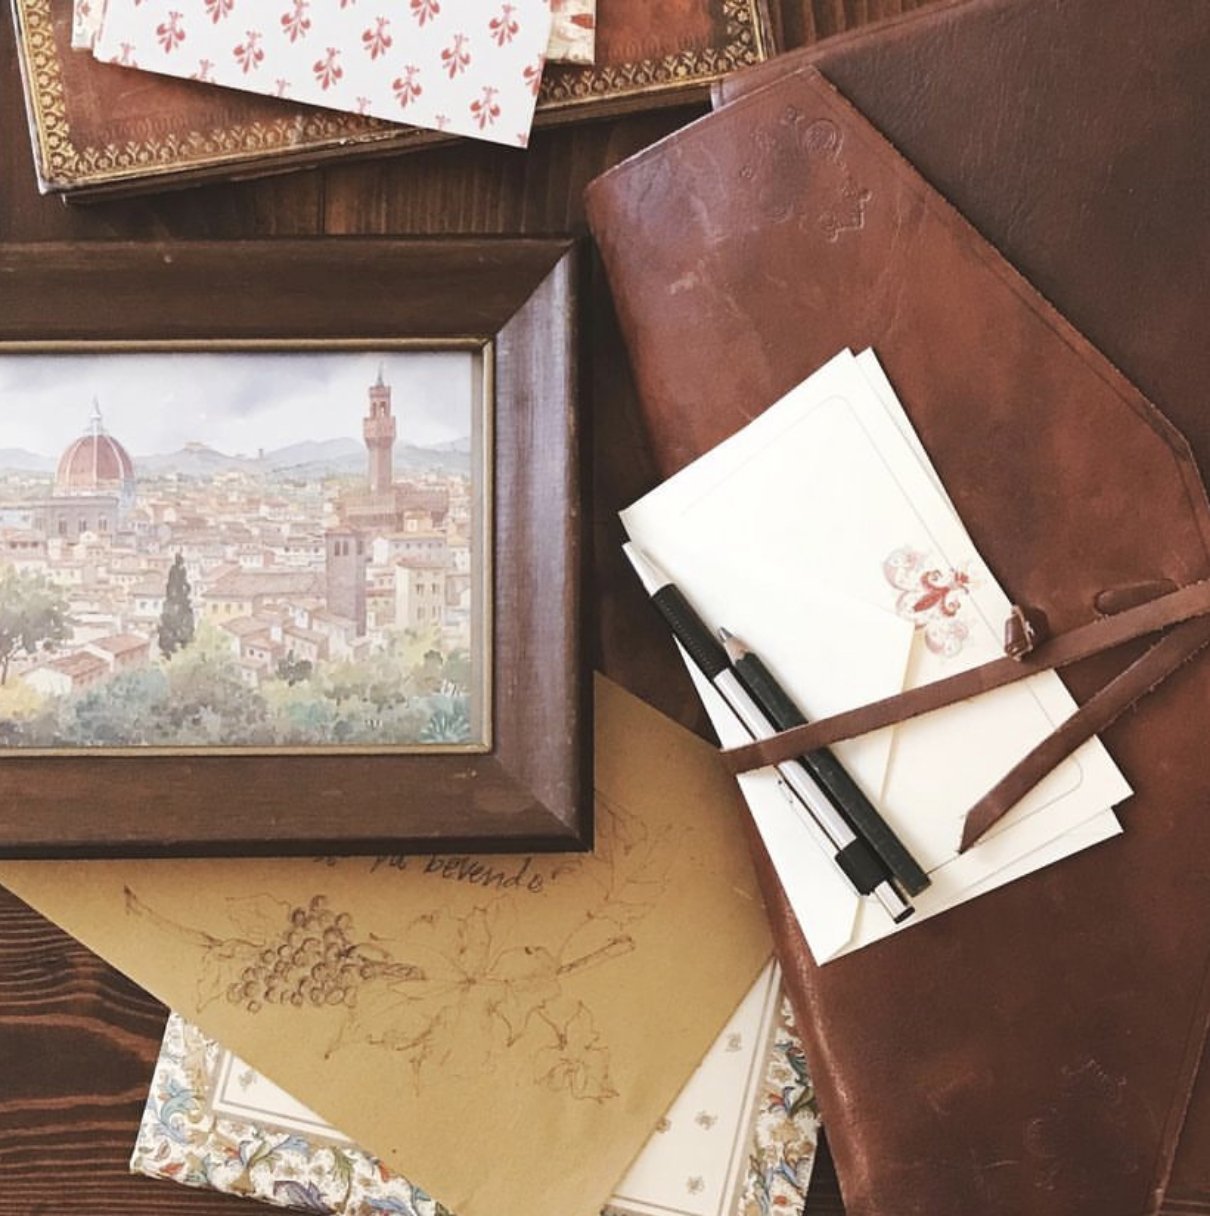
How to Make a Nature Journal

Just like Miss Prim, discover the wild wonders around you! Use a journal to draw, write, and capture the beauty of nature. I have one child who especially loves having a nature journal close at hand and will periodically run in from the yard to record what he’s seen.

WATCH VIDEO
CLICK HERE to watch a little video with our ideas!
Option 1: DIY Nature Journal Using a Notebook
Supplies:
A blank notebook (lined, unlined, or a sketchbook)
Colored pencils, pens, or watercolors
Glue, tape, paperclips
Small envelopes (for collecting tiny nature finds)
Steps:
Decorate the cover with stickers, pressed flowers, or drawings of nature
If you’d like, create sections with tabs or sticky notes (e.g., "Birds," "Flowers," "Weather").
If trying to go more in-depth with kids, add an observation guide in the front with prompts like:
What do I hear?
What do I see?
What do I smell?
Include pockets or envelopes inside for collecting leaves or petals
Option 2: Folded Paper & String Journal
Supplies:
5-10 sheets of blank or watercolor paper
Hole punch
Twine, ribbon, or yarn
Steps:
Stack the pages and fold them in half.
Punch two or three holes along the fold.
Thread twine or ribbon through the holes and tie a knot to bind them.
Decorate the cover with a print or a nature quote.
Optioin 3: Mini Pocket Nature Journal
Supplies:
Index cards or small squares of cardstock
Hole punch
Keyring or binder clip
Steps:
Punch a hole in the corner of each card.
Clip them together with a keyring or binder clip.
Use each card for a quick sketch or note about something seen outdoors.

What Goes inside?
Consider including some of the following:
A running list of birds spotted
Memories made together outdoors
Your garden plan with lists of local plants you want to try
An occasional photo of time outside together or an interesting nature find
A week of observations (like Miss Prim!)
Quotes or verses about nature
A place to press flowers or leaves
Grab your copy to follow Miss Prim’s wild journey!


Simple Nature-Inspired Art Projects with your Children!

Children naturally love creating art, but sometimes parents hesitate, thinking they aren’t artistic enough to guide them. The good news? You don’t need an artistic bent to enjoy these nature-inspired projects. These simple, open-ended activities let your children take the lead while you enjoy the process together. With just a few materials, you can spark creativity, encourage outdoor exploration, and create meaningful bonding moments.
Additionally, these projects align perfectly with the message in my new book, Miss Prim Goes Wild—a whimsical story about discovering the beauty of the wild and embracing nature. So whether you are having a creative morning at home with your children or hosting a nature-themed playdate or homeschool co-op group, grab the book, some leaves, mud, or a bundle of celery, and let’s make art together!
Project 1: Mud and Water Abstract Art

Materials Needed:
Mud (mix soil and water to desired consistency)
Paintbrushes or fingers
Cardstock or thick paper
Instructions:
Collect soil and mix it with water to create a muddy paint. You will want to try and locate very fine dirt in your yard. My children had fun finding the best version.
Use brushes or fingers to paint swirls, lines, and textures.
Add sticks or leaves to make imprints or scrape through the mud for depth.
Creative Twist: Once dry, outline sections with a black marker or add pops of color with paint for a mixed-media look. We took a stick of willow charcoal and added in some abstract marks.


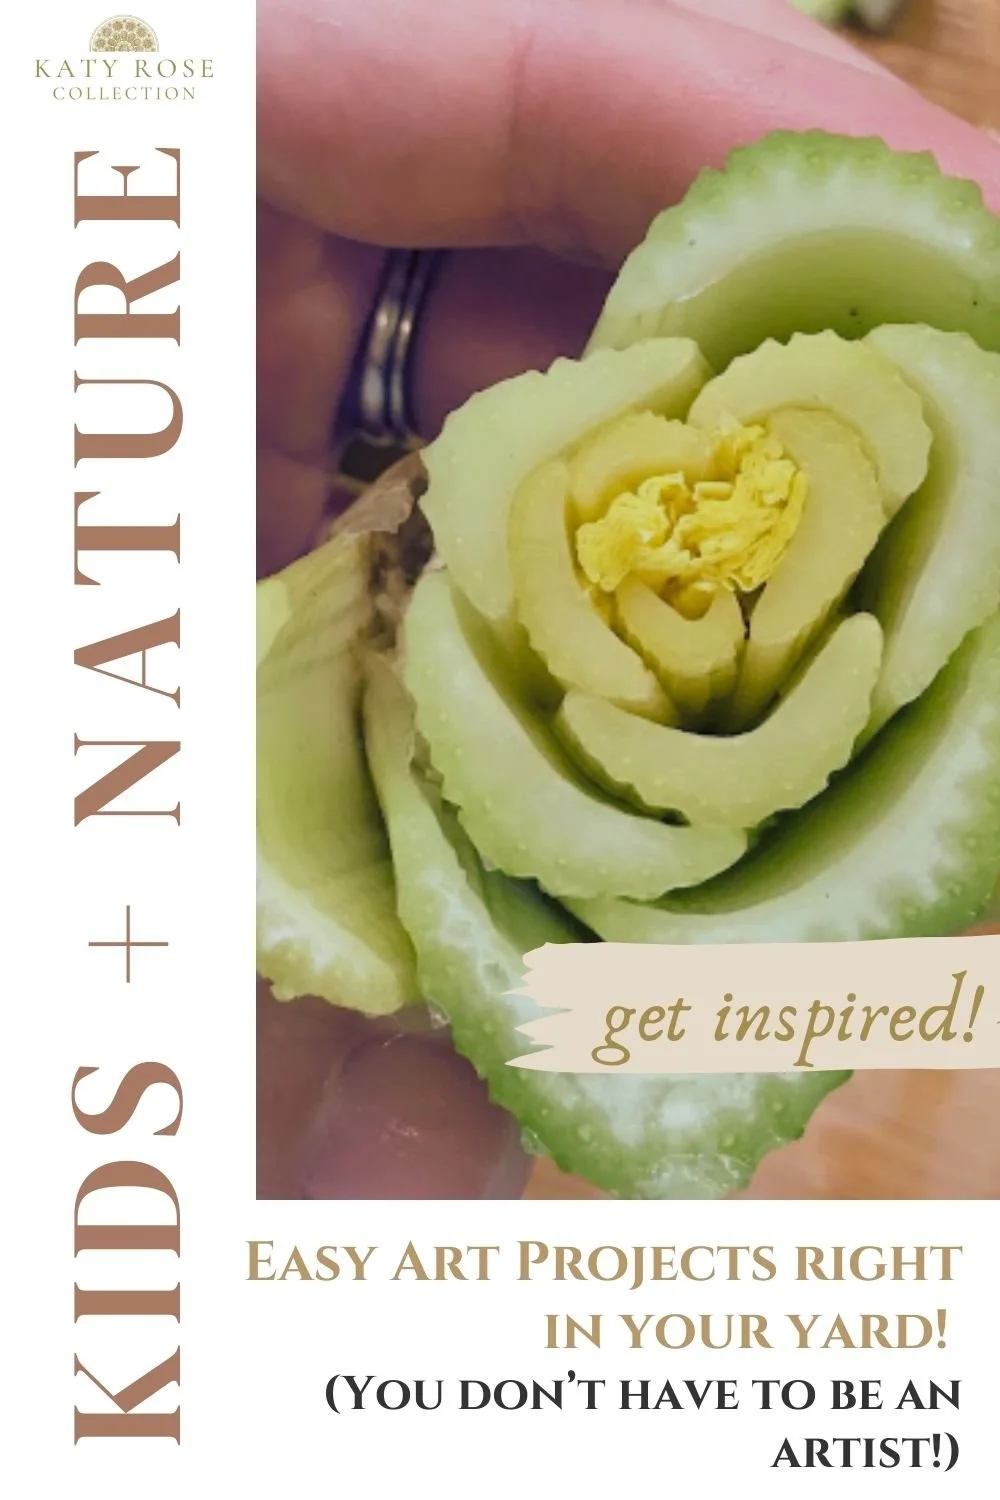
Project 2: Celery Flower Prints


Materials Needed:
Celery stems in tact
Paint (washable or acrylic)
Paper or fabric
Instructions:
Cut the celery near the base to reveal a flower-like pattern, about one to two inches above the connected base.
Dip the cut end into paint and press onto paper to create flower prints.
Experiment with different colors and layers for a vibrant effect. Paint on green leaves if you’d like.
Creative Twist: Use fabric paint on tote bags or T-shirts for wearable nature art.

Project 3: Leaf Snake with Acorn Eyes

Materials Needed:
Dried leaves
Acorns
Glue (hot glue for a secure hold)
Paper
Instructions:
Arrange leaves in a curved, snake-like shape on paper
Glue leaves down, one by one, to form the body.
Add acorns for eyes and paint or draw a tiny tongue.
Creative Twist: Use different leaf colors for a patterned effect or add small twigs for a 3D appearance. Also, instead of gluing onto paper, you could use twigs or twine to form the body and attach the leaves, creating a stand-alone snake.

Project 4: Fairy Houses from Found Nature Objects

Materials Needed:
Bark, rocks, acorns, flowers, moss, leaves, and twigs
Optional non-nature items: popsicle sticks, small box or carton as a base
Glue. (Hot glue works well.)
Instructions:

Use a small carton as the foundation. Cover it with bark, moss, and other natural elements.
Build doors and windows using popsicle sticks and acorns.
Arrange rocks or twigs to create pathways and fences.
Creative Twist: Add a battery-powered tea light inside to make it glow at night!


(Someone loved using the glue gun!)
Project 5: Nature Collage Photographs


Materials Needed:
Leaves, flowers, pebbles, twigs, acorns—anything your child finds in nature
A flat surface (tabletop, white paper, a wooden board, or even the ground)
A camera or smartphone
A printer (optional for printing)
Instructions:
Go on a nature walk and let your child collect small treasures that catch their eye.
Work together to arrange the items on a flat surface, creating a pattern, picture, or abstract design. Encourage creativity—try a sun from yellow leaves, a butterfly from flower petals, or a swirling pattern of pebbles!
Once the design is ready, take a few close-up photos to capture the details.
Print the photos and display them as unique nature artwork.
Creative Twist: Create a seasonal series by repeating the project throughout the year with different natural elements. You can even turn the prints into greeting cards or framed keepsakes!


Nature is full of inspiration, and creating art from its treasures is a beautiful way to spark creativity and curiosity in children. These simple projects encourage hands-on exploration and provide free, meaningful bonding moments between parents and kids. And they help children see the beauty in the wild (just like Miss Prim learns in Miss Prim Goes Wild)!

Pin now to save the ideas for later